photo from: www.tiphero.com
Since I learned processed foods and dyes are not good for kids, especially those with ADHD, I am always looking for ideas of ways to do things in a healthier way.
With Easter around the corner I already get nervous thinking of the chocolates and candies people will be giving my kids, and then I think of our annual Easter tradition of coloring Easter Eggs. The thought of eating all those eggs that have been sitting in chemical food dye baths doesn’t appeal to me.
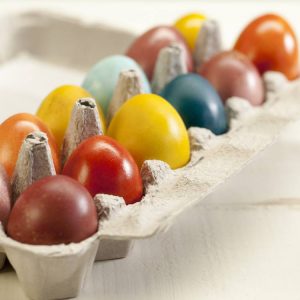
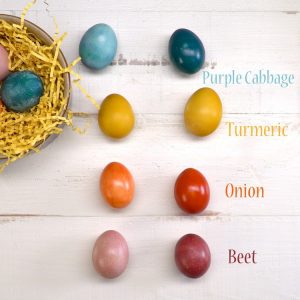
TipHero.com has offered a easy video about making plant dyes to color eggs. Not only are they easy to do, but they are a great science lesson as red cabbage turns eggs teal and yellow onion skins turn eggs fire red when left long enough.

photo from: www.tiphero.com
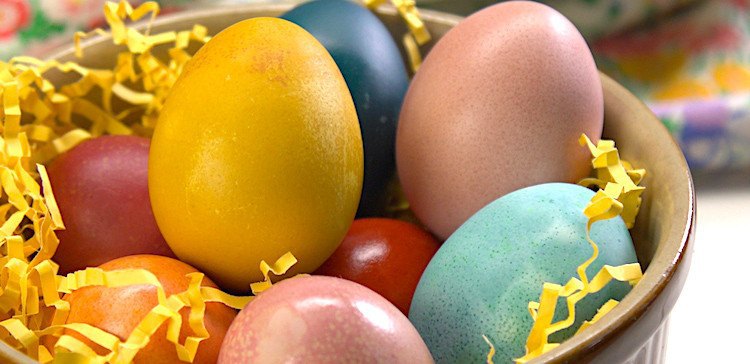
Plant dyes don’t work as instantly as store bought products (they take 2-12 hours in the fridge), but with my kids having a 5-day weekend, we have the time! If your really in a rush just take the eggs out after 2 hours and they’ll be lighter, or leave them overnight and they will be more intense. If your chickens lay brown eggs, those will give you an earthier look. Created a sponged look by dabbing with a paper towel while still wet or use a wax crayon and draw on the eggs before dipping them and the wax will keep that part white. There is no limit to the variations you can do.
Naturally Dyed Easter Eggs
Makes: 12 eggs
Prep Time: 15 minutes
Total Time: up to 12 hours
Ingredients
-
1 dozen hard boiled eggs
BLUE/GREEN
- 2 cups purple cabbage, shredded
- 2 cups water
- 2 Tablespoons distilled white vinegar
ORANGE
- 2 cups yellow onion peel
- 2 cups water
- 2 Tablespoons distilled white vinegar
PINK/RED
- 2 cups beet, grated
- 2 cups water
- 2 Tablespoons distilled white vinegar
YELLOW
- 1 Tablespoon turmeric
- 2 cups water
- 2 Tablespoons distilled white vinegar
OPTIONAL
- coconut oil or olive oil
Preparation
- You’ll need a medium-sized saucepan for each color. Add the dye material and water to the saucepan and bring to a boil. Reduce the heat to low and simmer for 15 minutes – one hour. (The longer the dye material is simmered, the darker the dye will become.)
- Remove from heat and strain out the liquid through a fine mesh strainer. Allow the liquid to cool to room temperature. Add 1 tablespoon of vinegar to every 1 cup of dye liquid.
- Place 2 – 3 hard-boiled eggs each into four pint-sized mason jars and cover each with a different colored dye. Place the lids on the jars and refrigerate until the desired color has been reached, 2 – 12 hours. (The darker you want the color to be, the longer you should let them sit.)
- Once the desired color has been reached, carefully remove the eggs from the dye with a spoon and place them on a cooling rack placed over a sheet pan to dry.
- Optional: to give the eggs a nice sheen, rub a little coconut or olive oil on the eggs once they have dried.
Tips:
- You can dye more eggs at once by using quart-sized mason jars.
- If you want lighter colored Easter eggs, the eggs can be rinsed and dried after being removed from the dye. (The darker outer layer of dye can still be easily wiped away before the eggs have dried completely.)


